Quick Start
This page covers three steps: sign up & activate → get to know the UI → first conversation. Model platforms are pre-configured by the admin, so regular users can start right away — about 5 minutes in total.
1. Sign Up & Activate
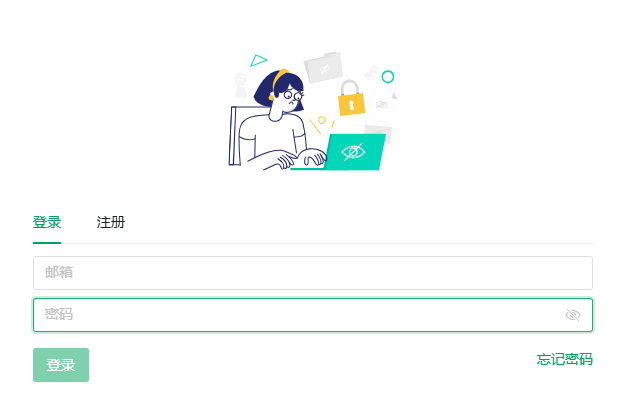
- Open the AIDeepIn site, click Login at the bottom-left, and the login window pops up.
- Switch to the Register tab.
- Fill in:
- Email: your login account and the address receiving the activation mail;
- Password: at least 6 characters;
- Confirm password: type the password again ("The two passwords do not match" if different);
- Captcha: the 4 uppercase letters/digits in the image — click the image to refresh.
- Click Register. On success the system tells you to check for the activation email.
NOTE
If the mail doesn't arrive, check the spam folder first; if it's still missing, ask the admin to activate you from the console (see Admin Console).
- Open the email and click the activation link.
- The result page shows activation successful with a 5-second countdown back to the home page; on failure the reason is shown (most often an expired link).
TIP
Once activated, log in with your email and password. Password reset and other account tasks: Sign-up, Login & Settings.
2. Get to Know the UI
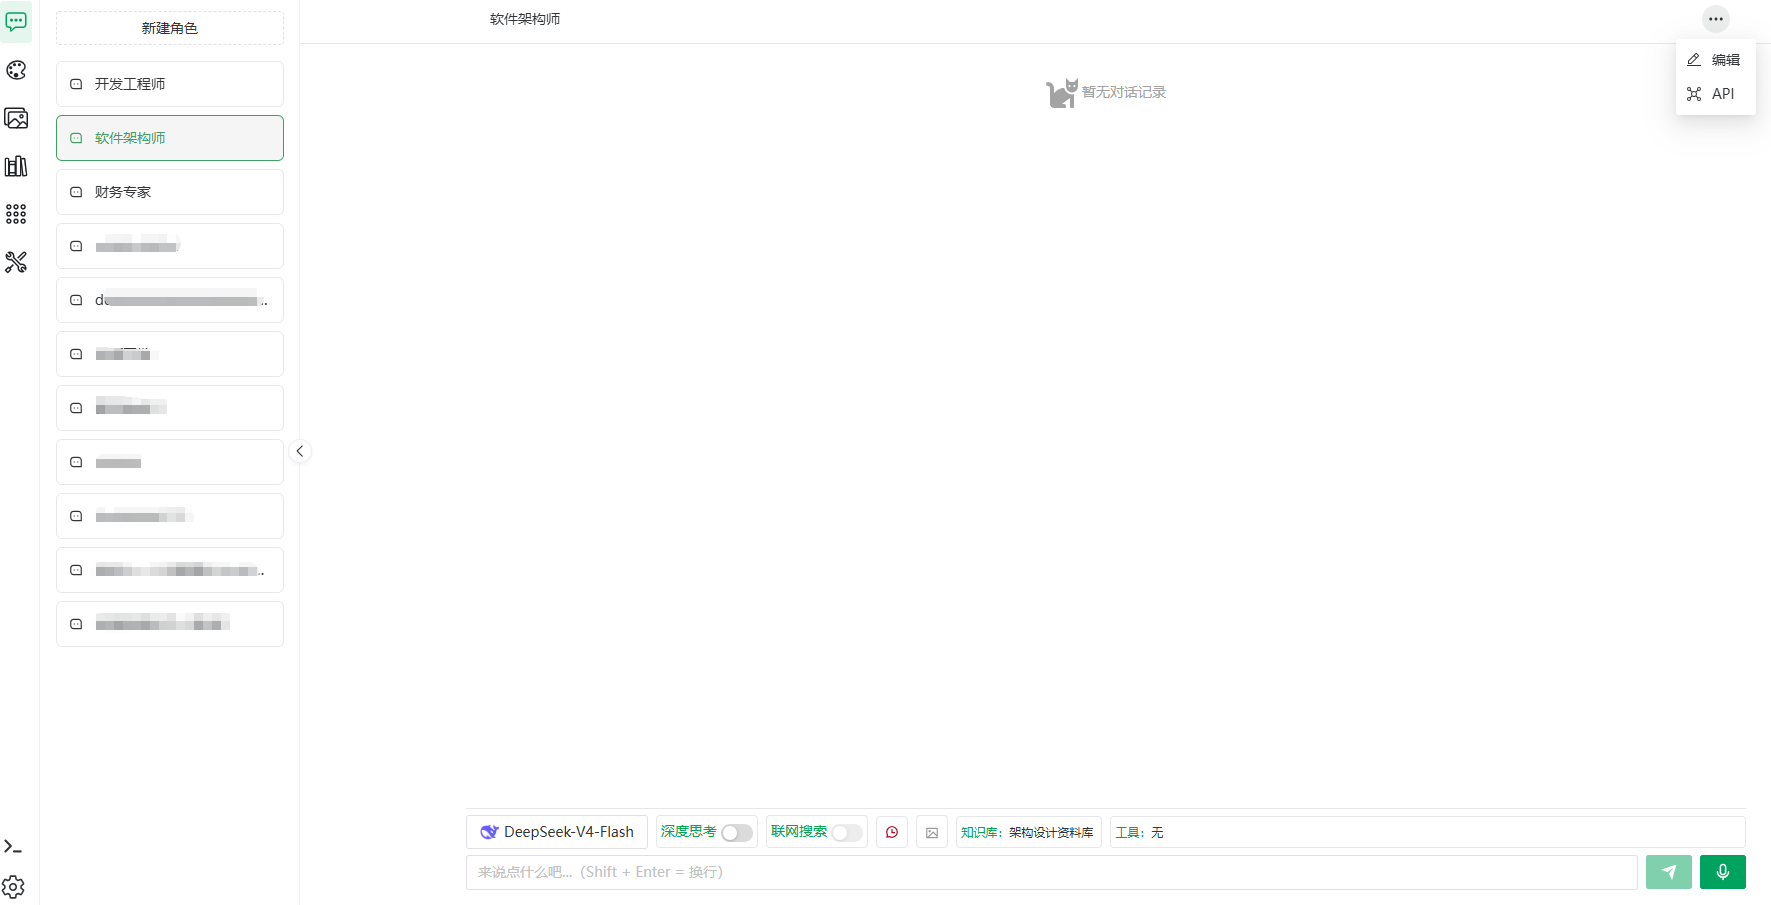
After logging in, the global menu sits on the far left (icons only, hover for labels), top to bottom:
| Menu | Function |
|---|---|
| Chat | Talk to AI characters |
| Draw | Text to image |
| Gallery | Browse public images and your likes |
| Knowledge Base | Q&A based on knowledge bases |
| Apps | Create and run workflows |
| Tools | Enable MCP extensions |
Three fixed entries at the bottom-left:
| Entry | Function |
|---|---|
| Prompt Store | Manage reusable prompts (see Prompt Store) |
| Settings | Theme, language, quota, change password (see Quota & Usage) |
| Login / Log out | Login when signed out; log out from Settings when signed in |
3. First Conversation
- Click Chat. New accounts get a default character automatically — no setup needed.
- Pick a model in the selector above the input box:
- Models are configured by the admin and shown as "platform avatar + model name";
- A greyed-out model is currently unavailable — just pick another;
- The selection is global: drawing and knowledge base Q&A follow it too.
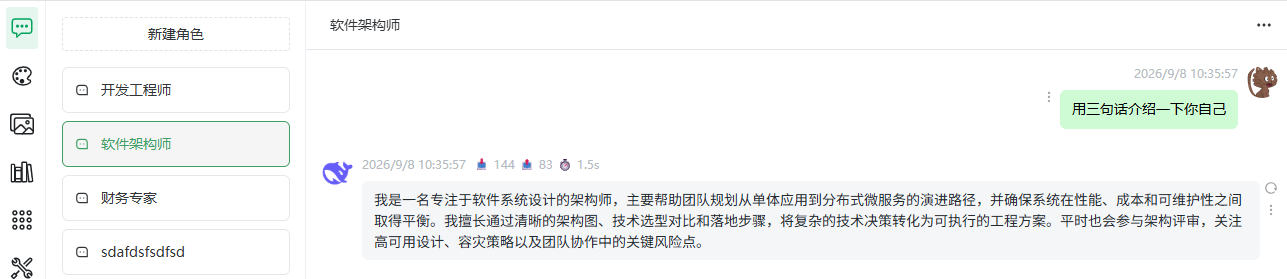
- Type a question (e.g. "Introduce yourself in three sentences").
- Press Enter or click send.
- The answer streams in. Click Stop anytime to interrupt.
Try these next
- Deep thinking: toggle it on to see the reasoning process before the answer (some reasoner models can't turn it off — see Model Selection).
- Web search: answers reference search results.
- Upload an image: with a vision (multimodal) model selected, upload a PNG/JPG (≤ 4MB) for recognition.
- Switch characters: click New Character above the list, or create one from 11 preset categories — see Characters & Presets.
- Voice: click the mic icon to record; the audio is transcribed and sent — see Voice Input & Playback.
- Get answers from your own documents: create a knowledge base — see Knowledge Base Overview.
4. Next Steps
- Get answers from your own documents: read the Knowledge Base chapter.
- Build automations: read Apps & Workflows.
- Integrate chat into your own program: read the API Reference.
- Check your usage: read Quota & Usage.
Previous: User Guide contents · Next: Chat Window